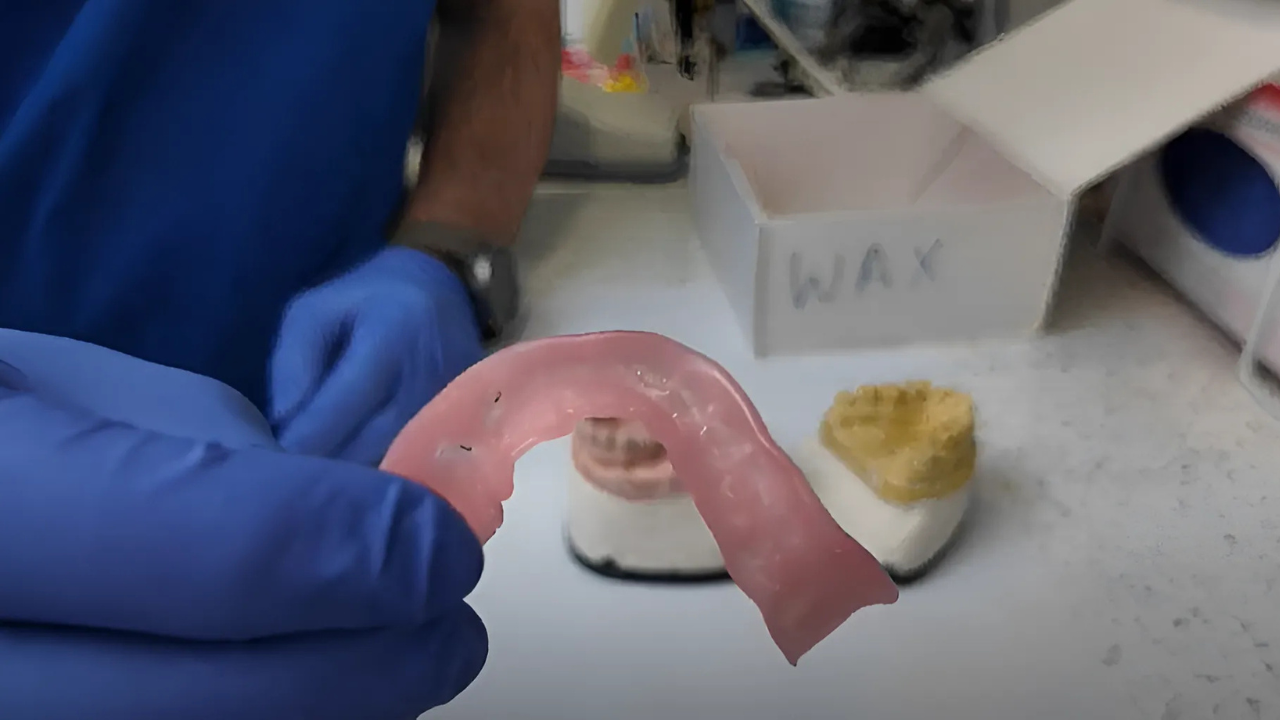
Creating a well-fitting special tray is a crucial step in the denture-making process. In this guide, I’ll walk you through how I make a full lower special tray, highlighting common challenges and tips to ensure accuracy and efficiency.
This method is particularly useful when you’re working with an existing upper denture or partial denture, as it prioritises model preservation and a reliable fit.
Start with the Bite Block
If you’re making both a special tray and a bite block, it’s generally better to make the bite block first. This is because removing the bite block can sometimes fracture parts of the model. If that happens after you’ve made the special tray, you’re in trouble. But if it happens during or after the bite block process, you can still proceed because you’ve got what you need to continue with the special tray, which doesn’t require as tight a fit.
Using Wax and Drawing Extensions
Begin by softening some wax in warm water and applying it to your model. Draw your extensions onto the model – these will guide the final shape of your tray. For full lower trays, a single wax spacer is usually sufficient. It saves time without compromising the fit.
Carefully press the wax down and use a lacron to score the margins, taking care not to damage the plaster. Then gently remove the wax.
Adapting the Baseplate and Special Tray Material
Once the wax is removed, reheat your baseplate wax and adapt it back onto the model. Then apply the special tray material – I prefer using the blue material, as it provides better visual contrast against both the wax and the impression materials later on.
Lay the material over the arch without stretching it too thin. Use a scalpel to trim any excess cleanly. Scalpel blades minimise dragging and help you avoid jagged edges.
Choosing Your Colour Wisely
I prefer blue special tray material over pink because it contrasts better with most impression materials like orange or green. If your impression material is pink, a blue tray helps you spot pressure areas more clearly. The key is contrast – choose colours that let you see pressure points easily during the impression stage.
Creating the Handle
Use excess tray material to form a handle. Place your finger at the anticipated lip height and position the handle accordingly. Make sure it’s well blended into the tray before the material sets to prevent breakage. Also, try to align the handle with the midline and add a slight upward angle for easier insertion during impressions.
Curing and Wax Removal
Cure the tray under light for about 10 seconds to tack it – just enough to make it rigid so you can remove the wax. Then pop the tray back in the light box upside down to cure it fully.
Why tack cure? Curing heats the material, which melts the wax underneath. If you don’t remove the wax first, it sticks. Some people use Vaseline to avoid this, but it can interfere with silicone impression materials later. Removing the wax first is quicker, cleaner, and avoids extra steps like sealing or boiling off Vaseline.
Finishing Touches
Once cured, clean up any sharp edges using a burr or abrasive. Ideally, wear a mask and use an extraction unit to reduce dust. The clean-up should be minimal if you’ve trimmed neatly before curing.
If anything, it’s better to have a slightly under-extended tray rather than overextended. Under-extension can be corrected with impression putty, whereas over-extension requires trimming in the chair – not ideal for patient comfort or efficiency.
Conclusion
The tray you’ve just made should now be ready to use. It doesn’t take long, and when done properly, it can significantly improve the quality of your final impression.
Check out our YouTube channel for a visual step by step walkthrough.


